DIY: Hanging Fiber Art
/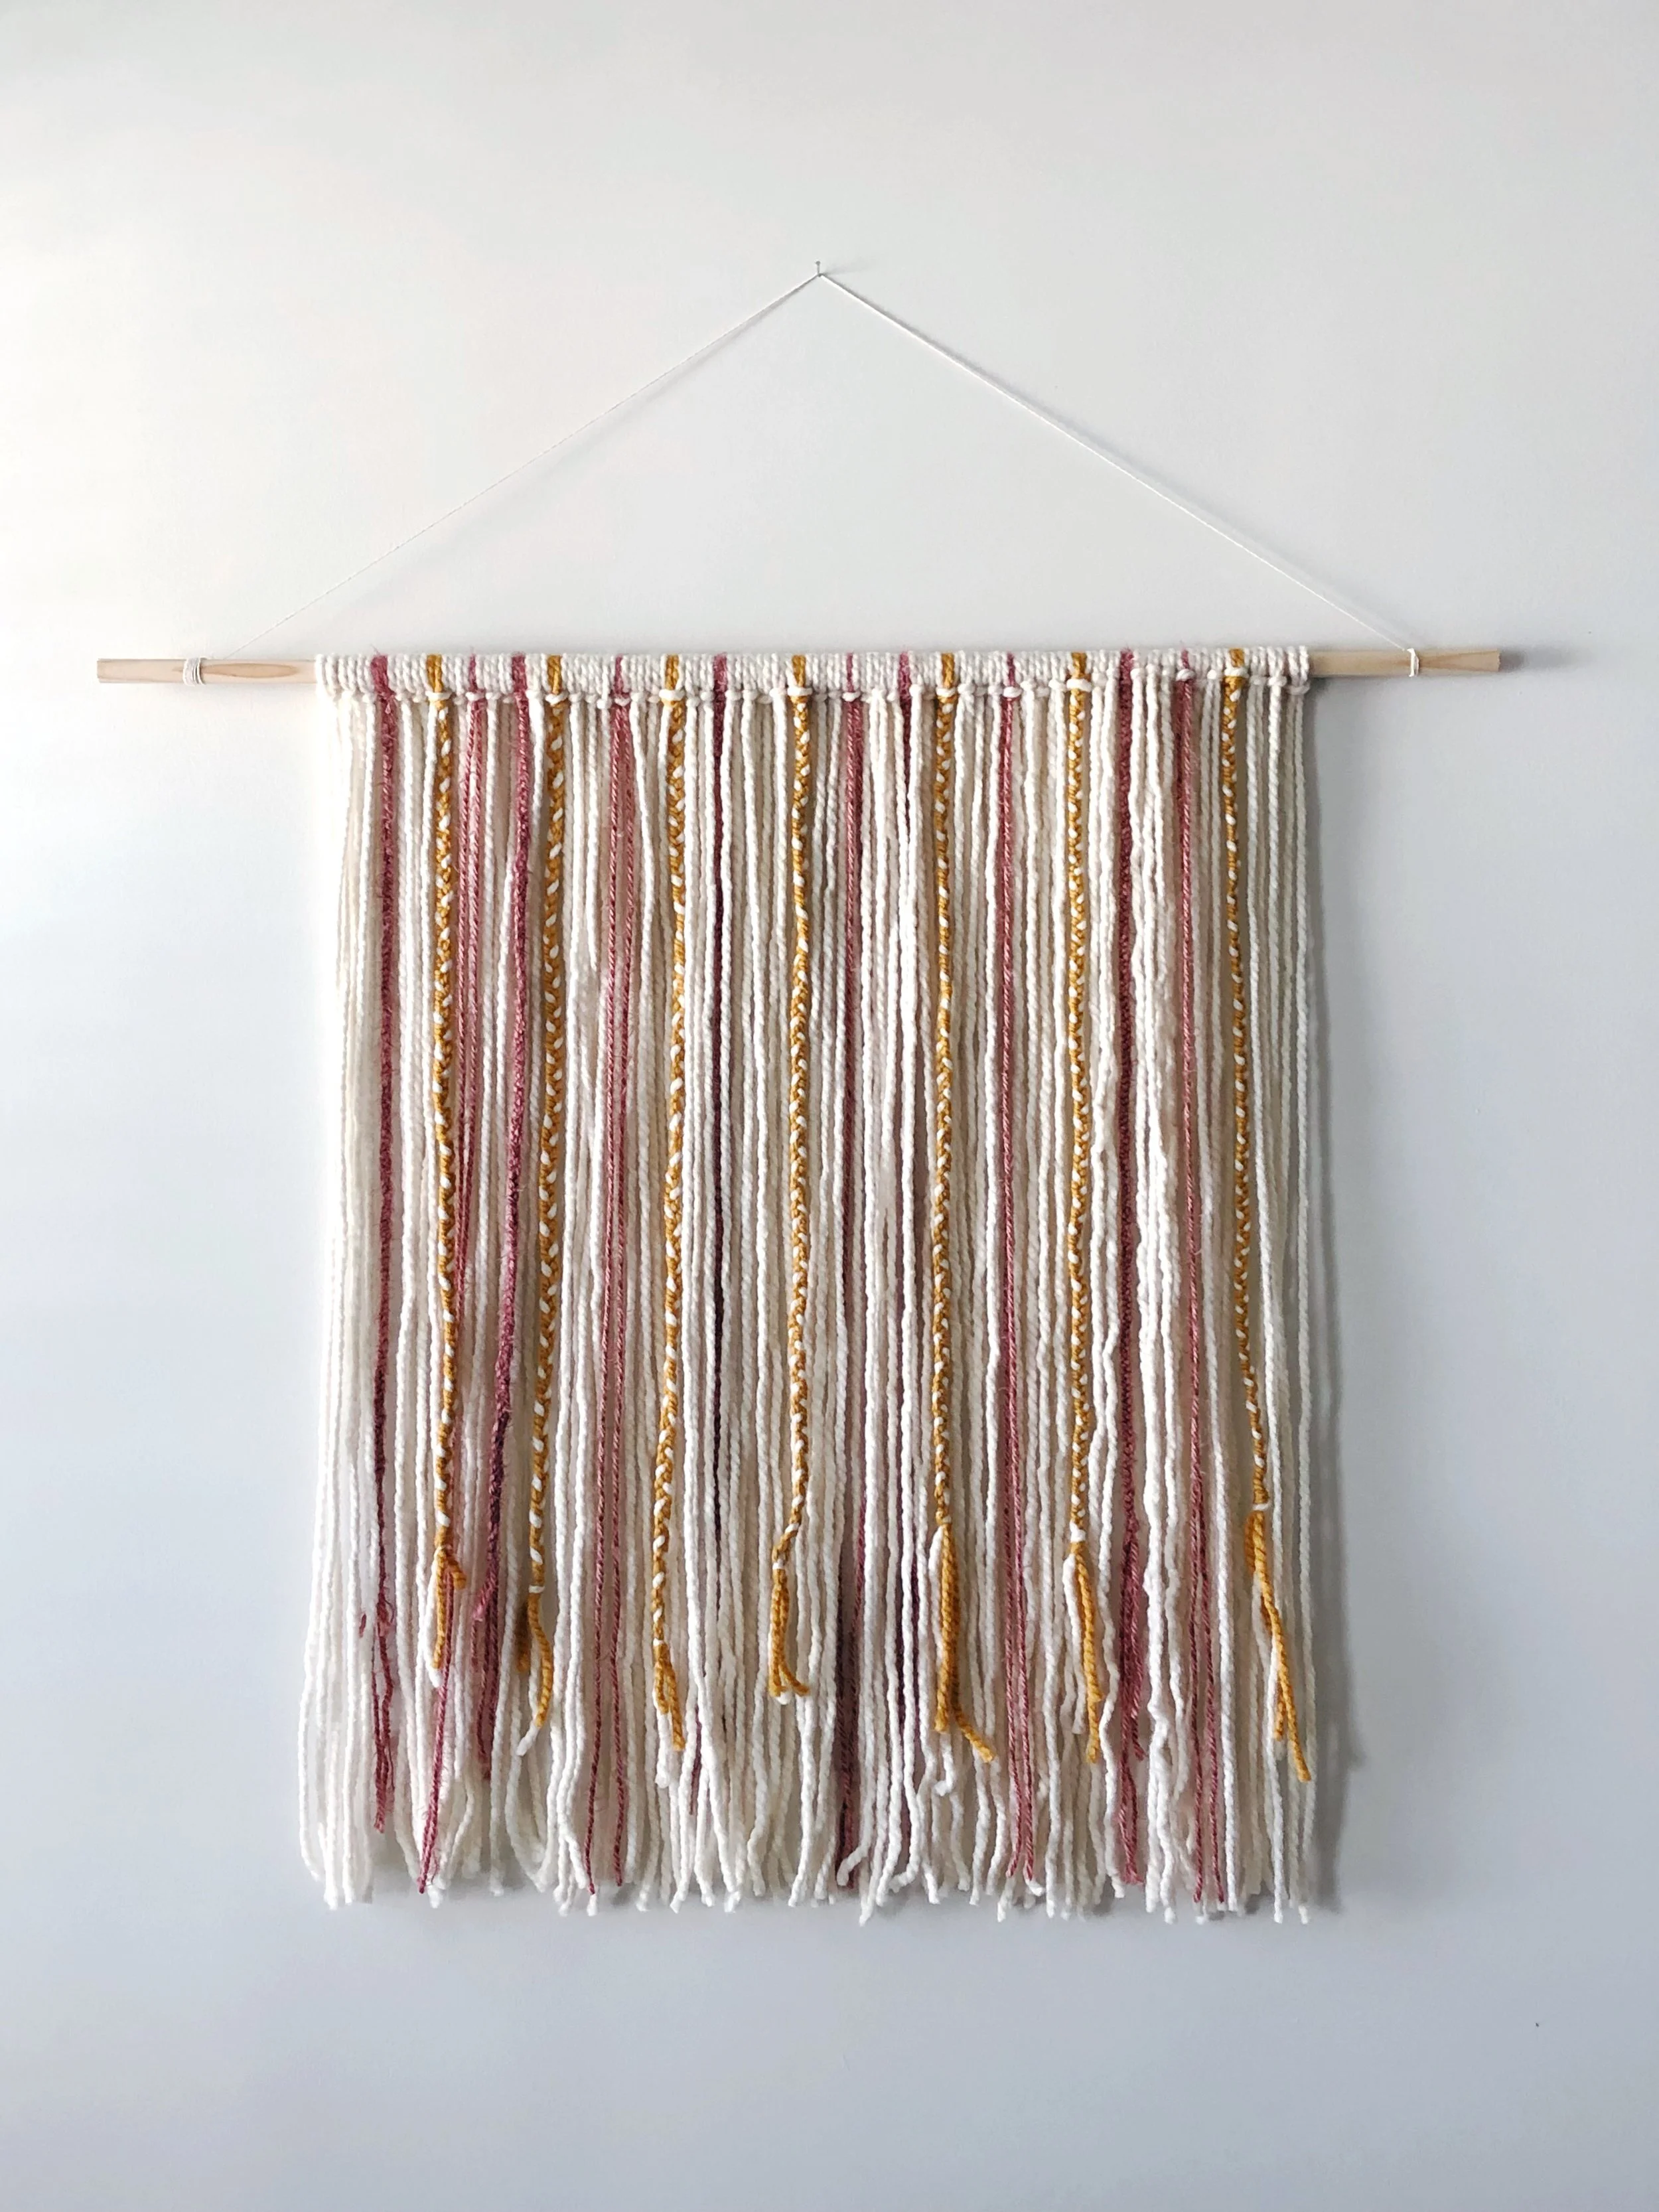
If you follow my Instagram account, you know I’ve been working on this fun fiber art project whenever I get a free moment (which is few and far between these days!). Well, I’m finally done and I’m so happy with how it turned out. And it’s so easy to do! If I wasn’t trying to keep up with Ellis and the house these days, I could’ve easily finished it in a few hours, but alas, #momlife 🤷🏻♀️
So, I’m going to share a little how-to so you can get busy making your own this spring!
Materials Needed
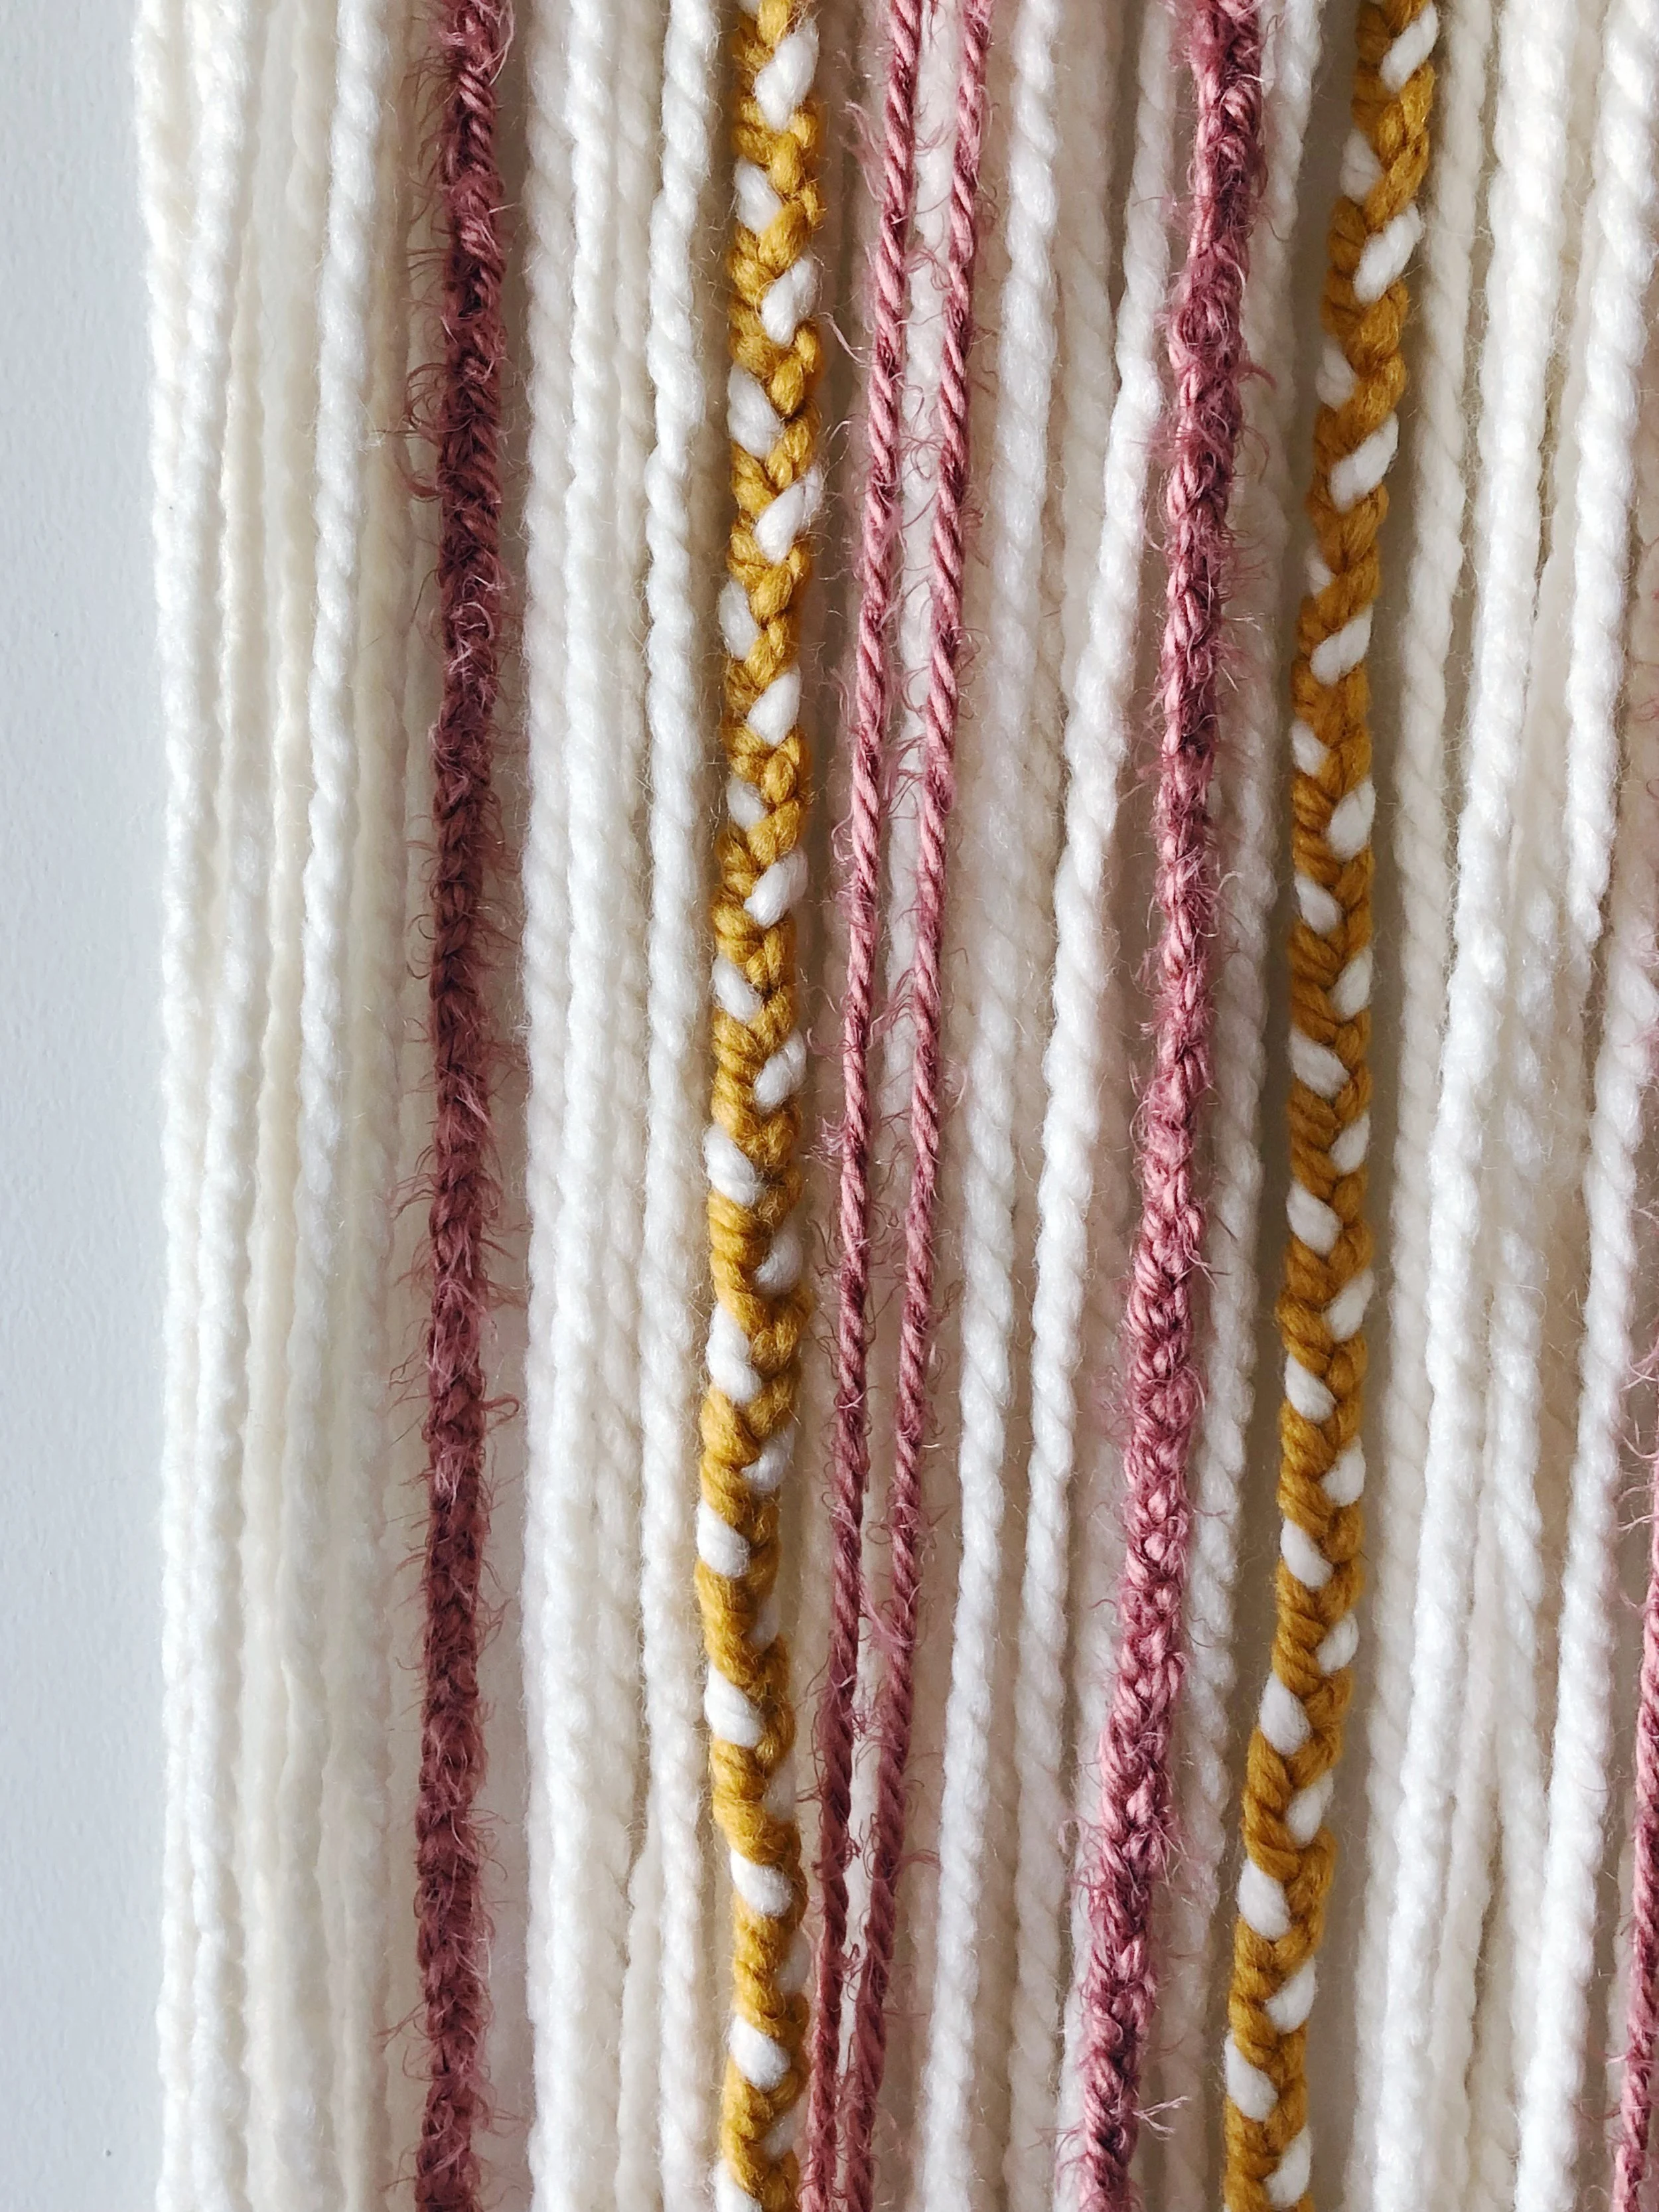
Medium weighted yarn in a few colors of your choice (or a bunch if you’re feeling adventurous!). I got mine at Michaels—the cream is called “Fisherman” and the yellow is called “Mustard.” The rose-colored yarn was from a previous purchase that I honestly don’t remember where I got it (sorry!). Whichever color you plan to use the most of, buy 2-3 of them depending on the thickness.
Wooden Dowel – the one I used was 1/5 inch in diameter and 48 inches long found here.
Heavy twine to hang – I used the same twine that I used to hang our gallery wall.
Scissors
Steps
Measure out the length you want for your fiber art project and cut out a sample piece of yarn to use as your “base” to measure out the rest.
Using the base piece of yarn, measure out and cut more pieces of yarn to use throughout the project. (This is not an exact science, but you can even things out more once the finished piece is hung).
Fold first piece of yarn in half and then loop over your dowel (start at about an inch or two from the end of your dowel to prevent loops from falling off and giving room to hang).
Pull ends of yarn through the loop and tighten. Make sure you loop over the same side of the dowel each time for an even look.
Repeat throughout, exchanging different colored yarn where you see fit.
Optional: include braids or other designs throughout to add some depth. I only braided the colored yarn to make them pop more.
Measure out your twine to your desired height for hanging. Cut and tie off at each end of your dowel. Hang with a small nail or knob if you want it more decorative (here’s how to do that).
Cut off any excess yarn to even out the lengths (if you choose a more even look).
As you can see, super easy! And relaxing if I do say so myself! And the best part is that you can choose the colors you want to match your room’s décor.
-J